How Multimeters Measure Voltage, Current, and Resistance
Multimeters measure voltage, current, and resistance by using probes that connect to the circuit. For voltage, you place the probes across a component, checking AC or DC as needed. To measure current, the circuit is broken to allow the meter to connect in series. Resistance checks require power to be off and selecting a proper range. Proper settings and connections are essential for accurate readings. Keep going to discover more tips and techniques for using your multimeter effectively.
Key Takeaways
- Multimeters measure voltage by connecting probes across the component, with black to ground and red to positive, ensuring no circuit completion.
- For current measurement, the multimeter must be part of the circuit, requiring a break, connecting red to positive and black to negative.
- Resistance is checked by turning off power, selecting the resistance range, and connecting the probes to the resistor without circuit power.
- Analog multimeters display measurements using a needle and dial, while digital multimeters provide numerical readings on an electronic display.
- Proper measurement settings, probe connections, and stable contact are essential to ensure accurate readings for voltage, current, and resistance.
What Is a Multimeter?
A multimeter is an essential tool for anyone working with electrical systems, as it measures voltage, current, and resistance in one compact device. This handy tool helps you troubleshoot electrical problems and guarantee everything’s operating efficiently.
It can display readings in different formats, allowing you to easily interpret results. When using a multimeter, you’ll often switch between different settings to measure AC or DC voltage and identify circuit continuity.
With a simple user interface, you can take accurate readings that will guide your repairs or adjustments. Whether you’re a hobbyist or a professional, understanding how to use a multimeter can save you time and prevent costly mistakes in your electrical work. Additionally, it’s crucial to use the right testing tools for specific testing needs to achieve accurate results.
A multimeter simplifies your electrical work, ensuring accuracy and efficiency for both beginners and experts alike.
It’s truly a versatile tool for any technician.
Types of Multimeters
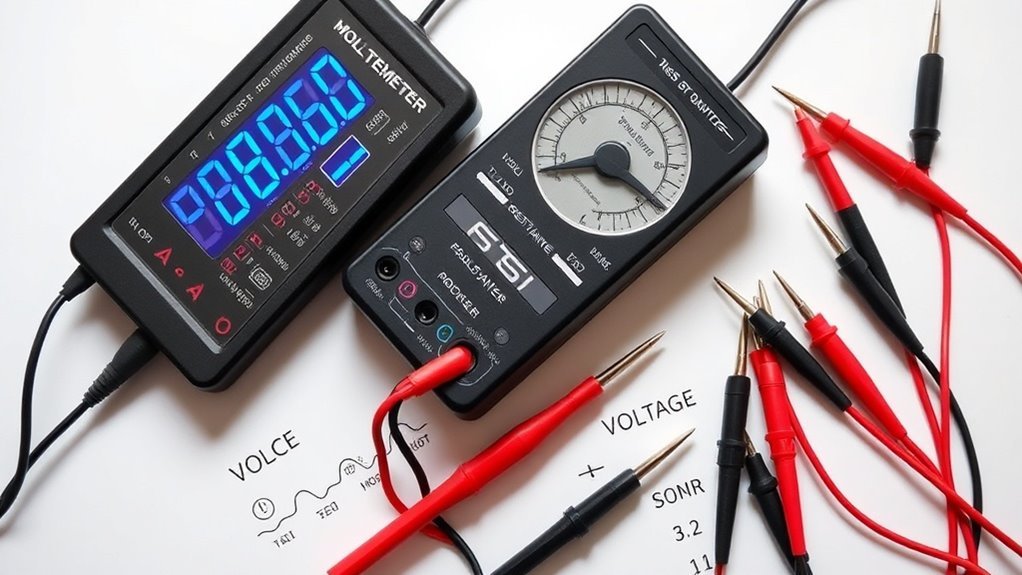
Multimeters come in various types, each designed for specific applications and user preferences. The most common types are analog and digital multimeters.
Analog multimeters use a needle to display readings on a dial, ideal for visualizing trends. Digital multimeters, on the other hand, provide numerical readings on a digital display, making them easier to read and more precise.
Within digital multimeters, you’ll find auto-ranging and manual-ranging options. Auto-ranging models automatically select the appropriate range for your measurement, while manual-ranging models let you choose the range yourself.
Additionally, you might encounter specialized multimeters, like clamp meters, designed for measuring current without needing to break a circuit.
Choosing the right type depends on your specific needs and comfort level with technology.
Understanding Voltage Measurement
When measuring voltage, it’s crucial to understand the difference between AC (alternating current) and DC (direct current), as each type requires a specific setting on your multimeter.
AC voltage is what you typically find in household outlets, while DC voltage is common in batteries and electronic devices.
AC voltage powers our homes, while DC voltage is the lifeblood of batteries and electronic devices.
To measure voltage accurately, start by connecting the multimeter probes to the circuit, ensuring the black probe goes to the ground or negative side, and the red probe touches the positive side.
Once set, you can read the voltage level displayed on the screen.
Remember not to connect the multimeter in a way that creates a complete circuit; doing so can lead to damage or injury.
Always prioritize safety when handling electrical measurements. Understanding Ohm’s Law can further assist in interpreting the voltage readings effectively.
Measuring Direct Current (DC)
Measuring direct current (DC) requires a slightly different approach than voltage measurement. First, you’ll want to set your multimeter to the DC current setting, usually denoted by a straight line with a dashed line beneath it.
Next, you’ll need to break the circuit you’re testing; DC current flows in a loop, so the meter must be part of that loop. Connect the multimeter probes—red to the positive side of the circuit and black to the negative.
Once everything’s hooked up, the display will show the current flowing through the circuit in amperes. Remember, if the reading’s negative, you might’ve your probes switched around.
Always verify the multimeter can handle the expected current range to prevent damage. Effective measurement of DC current ensures circuit integrity by confirming that all connections are sound and functioning as intended.
Measuring Alternating Current (AC)
To measure alternating current (AC) effectively, you’ll first need to switch your multimeter to the AC current setting, usually indicated by a sine wave symbol.
Once you’ve done that, follow these steps for accurate readings:
- Connect the Probes: Insert the black probe into the COM port and the red probe into the A port, ensuring a solid connection.
- Select Measurement Range: If your multimeter isn’t auto-ranging, choose an appropriate range that exceeds the anticipated current level.
- Take the Measurement: Clamp the probes around the wire carrying the AC current, avoiding any direct contact with the wire itself.
Exploring Resistance Measurement
Understanding how resistance is measured can considerably enhance your ability to diagnose electrical issues. When using a multimeter to measure resistance, you’ll often switch to the ohm setting. The multimeter sends a small current through the resistor and measures the voltage drop, applying Ohm’s Law (V = IR) to calculate resistance. Here’s a simple overview of common types of resistors and their general characteristics:
| Type of Resistor | Common Uses |
|---|---|
| Carbon Film Resistor | General-purpose |
| Metal Film Resistor | Precision applications |
| Wirewound Resistor | High power applications |
Keep this table handy for a quick reference. Knowing these details can streamline your troubleshooting process and help guarantee accurate measurements.
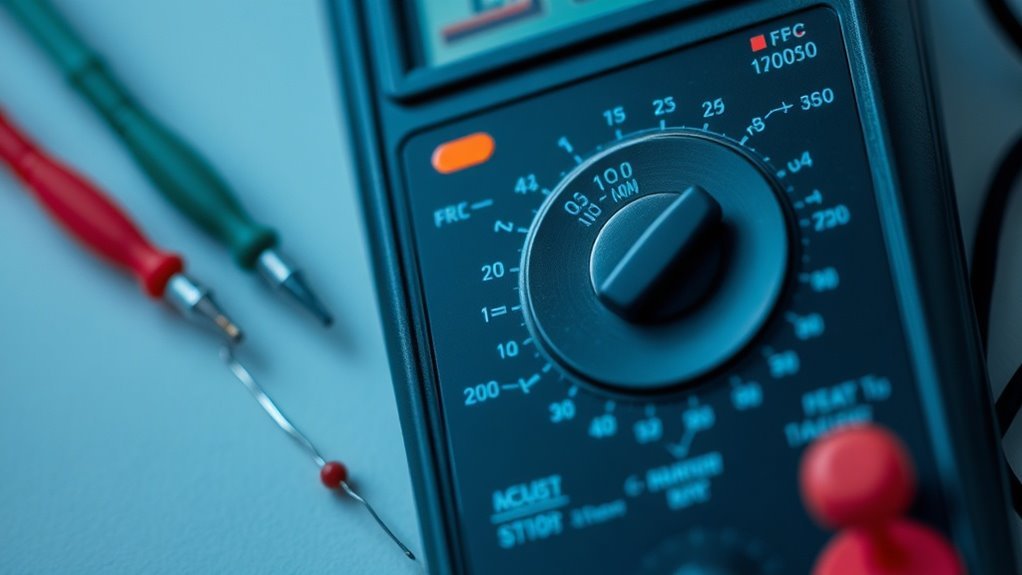
The Importance of Range Settings
When using a multimeter, selecting the appropriate range is vital for accurate measurements.
If you don’t set the range correctly, you could hit the measurement limits and compromise your readings.
Understanding the significance of range settings can help you avoid these pitfalls and improve your overall measurement accuracy.
Selecting Appropriate Range
Choosing the right range on your multimeter is essential for accurate measurements, since it directly affects the precision of voltage, current, and resistance readings.
Selecting the appropriate range can help you avoid potential errors and guarantee your data’s reliability. Here are three tips for choosing wisely:
- Start High: If you’re unsure of the measurement, begin with the highest range. You can always adjust downwards for better precision.
- Know the Limits: Familiarize yourself with your multimeter’s range settings to avoid exceeding its capabilities, which could damage the device.
- Use Auto-Ranging: If your multimeter has an auto-ranging feature, take advantage of it to simplify your measuring process and minimize guesswork.
Accuracy and Measurement Limits
Accurate measurements are essential for effective troubleshooting and circuit analysis, and the range settings on your multimeter directly influence this accuracy. Using the right range helps minimize measurement errors and provides reliable results. If you’re on a too low range, you might get an overloaded reading; if it’s too high, your measurements can be less precise.
Here’s a quick reference table to illustrate the importance of range settings:
| Range Setting | Accuracy | Common Use |
|---|---|---|
| Auto | Varies | General troubleshooting |
| Low | High | Sensitive components |
| High | Moderate | Large circuits |
Understanding these ranges guarantees you’ll get the most accurate readings for your specific application.
Safety Precautions When Using Multimeters
While multimeters are essential tools for electrical measurement, safety precautions are crucial to prevent accidents and guarantee accurate results.
Always be alert and follow these guidelines:
Stay vigilant and adhere to essential safety guidelines for using multimeters to ensure accurate measurements and prevent accidents.
- Check the Range: Before measuring, make sure your multimeter is set to the correct measurement type and range to avoid damage and inaccurate readings.
- Use the Right Probes: Always use insulated probes suitable for the voltage levels you’re working with. Damaged or inappropriate probes can lead to electric shock or short circuits.
- Avoid Wet Conditions: Don’t use your multimeter in damp or wet environments, as moisture increases the risk of electrocution or equipment failure. Regular testing with fuse testers can also help ensure your electrical system is safe before using any multimeter.
Common Applications of Multimeters
Multimeters are versatile tools that can serve you in various applications, making them indispensable for both professionals and DIY enthusiasts. You can use them to measure voltage in electrical outlets and batteries, ensuring your devices are functioning correctly.
When troubleshooting appliances, measuring current helps identify if a component is drawing too much or too little power, which can prevent further damage. Additionally, multimeters are great for checking resistance, allowing you to assess the health of resistors and circuits.
You might also find them handy in automotive work, helping diagnose issues in your vehicle’s electrical systems. Overall, multimeters enable you to save time and increase efficiency in your projects, making them a key instrument in your toolkit.
Tips for Effective Multimeter Use
When using a multimeter, proper probe placement is essential for accurate readings. You also need to make certain you’ve selected the correct mode for what you’re measuring. These simple steps can help guarantee reliable results every time. Additionally, understanding how multimeters work can significantly improve your diagnostic skills.
Proper Probe Placement
To guarantee accurate readings with your multimeter, proper probe placement is essential. Using your probes correctly helps ascertain you’re measuring the electrical parameters accurately. Here are some tips for effective probe placement:
- Connect Probes Securely: Make sure the probes are fully inserted into the jacks of the multimeter and the points being measured, which reduces the chance of loose connections.
- Polarity Matters: For voltage measurements, connect the red probe to the positive side and the black probe to the negative. This keeps the readings positive and avoids confusion.
- Stable Contact: Hold the probes firmly against the contact points. Any movement can result in fluctuations or erroneous readings.
Select Correct Mode
After verifying proper probe placement, the next step in using a multimeter effectively is selecting the correct mode.
Make sure to identify whether you need to measure voltage, current, or resistance. Voltage modes typically have AC and DC options, so choose wisely based on your circuit. If you’re checking current, decide if it’s in series or parallel, and remember to set the correct range to avoid damaging the meter.
For resistance, verify the circuit is powered off, and choose an appropriate range.
Always double-check your selection; using the wrong mode can lead to inaccurate readings or even harm the multimeter. Taking a moment to select the right mode helps verify precise measurements and extends the life of your device.
Questions
Can I Use a Multimeter to Check Batteries?
Yes, you can use a multimeter to check batteries. Just set it to measure DC voltage, connect the probes to the battery terminals, and you’ll get a reading of the battery’s voltage level.
How Do I Store My Multimeter Properly?
To store your multimeter properly, keep it in a protective case, avoid extreme temperatures, and make certain it’s turned off. Regularly check the battery and clean the probes to extend its lifespan and maintain accuracy.
What Are Common Multimeter Troubleshooting Steps?
Check the battery first; it might be dead. Make sure your leads are connected properly, and investigate for any visible damage. If readings seem off, try recalibrating your multimeter or replacing the fuse if necessary.
How Often Should I Calibrate My Multimeter?
You should calibrate your multimeter at least once a year, or more frequently if you notice inaccurate readings. Regular calibration guarantees reliability and accuracy, helping you maintain confidence in your measurements during various tasks.
Can a Multimeter Measure Temperature?
Yep, some multimeters can measure temperature, but not all. If you want that function, check for a thermometer probe option. Just remember, it might not be as accurate as dedicated temperature measuring devices.
Conclusion
In summary, mastering how to use a multimeter can really amp up your DIY skills, making you feel like a modern-day wizard of electronics. Whether you’re measuring voltage, current, or resistance, understanding the nuances can keep your projects running smoothly and safely. So, grab your multimeter, and get ready to release your inner tech genius—it’s time to plunge into the world of circuits like it’s the 21st century, equipped with all the knowledge you need!