Step-by-Step: Using a Caulking Gun Properly
To use a caulking gun properly, start by choosing the right caulk for your project and prepare the surface by removing old caulk and cleaning the area thoroughly. Load the caulk tube into the gun, puncture the seal, and hold the gun at a 45-degree angle. Apply a steady pressure on the trigger to create an even bead. Finally, smooth the caulk, wipe away any excess, and clean your tools. There’s plenty more to mastering this technique.
Key Takeaways
- Select the appropriate caulk type for your project, considering indoor versus outdoor use and environmental factors.
- Prepare the surface by cleaning, sanding, and removing old caulk to ensure proper adhesion.
- Load the caulk tube into the gun, puncture the seal, and hold the gun at a 45-degree angle for application.
- Squeeze the trigger slowly for an even bead, and smooth it out immediately using a caulk tool or finger.
- Clean excess caulk promptly and wash tools to prevent buildup; inspect the bead for gaps and reapply if necessary.
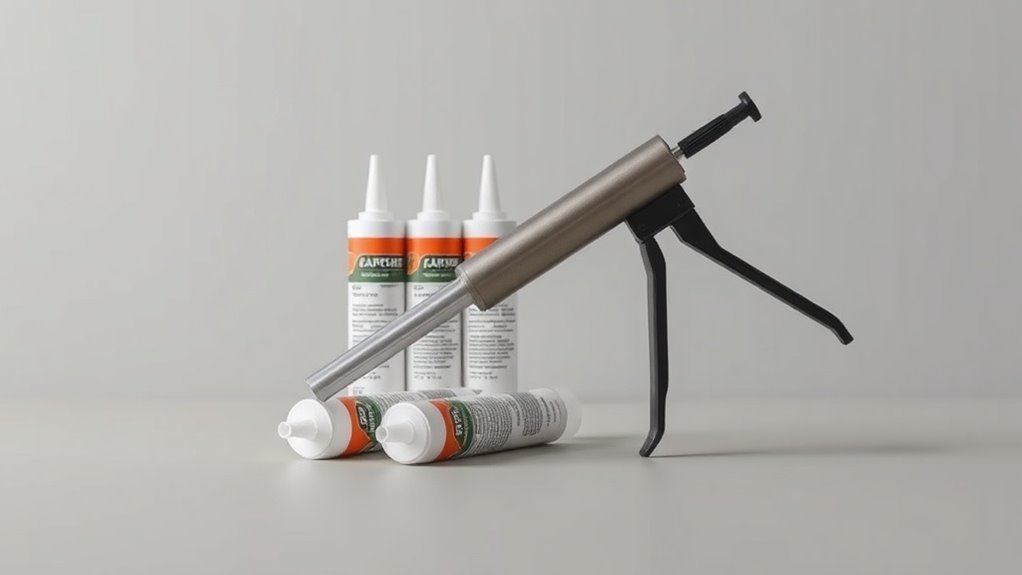
Understanding Your Caulking Gun
When you’re ready to tackle a caulking project, understanding your caulking gun is essential. This tool comes in various types, like manual, electric, and pneumatic.
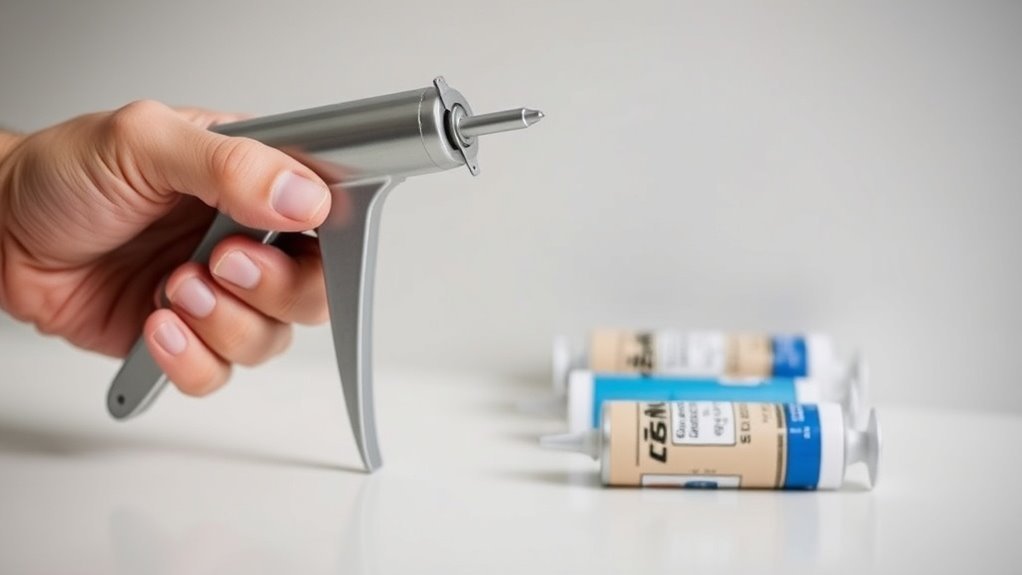
Familiarizing yourself with the trigger mechanism will help you control the flow of caulk; a gentle squeeze provides precision, while a firm pull increases the output. Most guns have a caulk tube holder and a rod that punctures the seal for easy application.
Be certain to check the release mechanism too; it allows you to stop the flow effortlessly. Finally, learning to clean the tip after use can save you from messy residue and clogs next time.
Selecting the Right Caulk
Choosing the right caulk is crucial for achieving a lasting seal, especially since different projects demand different materials. When selecting caulk, consider the environment where you’ll apply it.
Choosing the appropriate caulk is essential for a durable seal, tailored to the specific requirements of your project.
For indoor use, acrylic latex caulk is versatile and easy to clean up. If you’re sealing gaps outdoors, silicone caulk is your best bet due to its durability and water resistance.
For areas exposed to high humidity, like bathrooms, mold-resistant caulks are ideal. Pay attention to the specific needs of your project—some caulks are paintable, while others aren’t.
Also, check the label for the drying time and verify it fits your timeline. With the right choice, your caulking job will be both effective and long-lasting.
Preparing the Surface
A clean and smooth surface is essential for a successful caulking job. Before you begin, make certain to prepare the surface properly. This will help guarantee that the caulk adheres effectively and lasts longer.
Here are some steps to follow:
- Remove old caulk: Use a utility knife or caulk remover tool to cut away any existing caulking.
- Clean the area: Wipe down the surface with a cleaner and let it dry completely. This removes dirt and dust that could hinder adhesion.
- Sand the surface: If necessary, lightly sand any rough spots to create a smoother application area.
Taking these steps will set you up for success when it’s time to load and apply the caulk.
Loading and Applying Caulk
Once you’ve prepared the surface, it’s time to load the caulk into the gun. Start by removing the cap from the caulk tube, then puncture the seal inside the nozzle using a sharp object or the built-in puncture tool on the gun.
Now, insert the tube into the caulking gun, with the nozzle facing out. Press the release lever to lock the tube in place.
To apply the caulk, hold the gun at a 45-degree angle to the surface. Squeeze the trigger gradually, moving the gun steadily along the joint you want to fill.
Keep the pressure consistent to create an even bead of caulk. Practice makes perfect, so don’t hesitate to run a test bead if you’re unsure.
Finishing Touches and Cleanup
To achieve a professional-looking finish after applying caulk, you’ll want to smooth the bead and clean up any excess. Use a tool, like a caulk smoothing tool or your finger, to gently press down the caulk, making certain it’s evenly spread in the joint.
After smoothing, quickly wipe away any extra caulk before it dries.
Here’s what to do next:
- Clean your tools: Immediately clean your smoothing tool or finger with a damp cloth to avoid buildup.
- Inspect the bead: Check for gaps or inconsistencies and reapply caulk if necessary.
- Final cleanup: Dispose of any used materials and wash your hands thoroughly.
Taking these finishing touches will guarantee a neat, professional appearance to your caulking project.
Questions
How Do I Maintain and Clean My Caulking Gun?
To maintain and clean your caulking gun, remove any dried caulk with a utility knife, wipe the nozzle and barrel with a damp cloth, and store it in a dry place for future use.
Can I Use Old Caulk With a New Caulking Gun?
Using old caulk’s like wearing worn-out shoes; it can lead to problems. You can use old caulk with a new caulking gun, but make sure it’s still usable or you’ll end up with poor results.
What Types of Projects Require a Caulking Gun?
You’ll find a caulking gun essential for projects like sealing windows and doors, filling gaps in siding, bathroom fixtures, or kitchen countertops. It helps create a waterproof barrier and improves your home’s energy efficiency.
How Long Can I Store Unused Caulk?
You can store unused caulk for about a year if it’s sealed properly. Just keep it in a cool, dry place, and make sure the cap’s on tight to prevent drying out or hardening.
Are There Different Caulking Guns for Different Caulk Types?
Yes, there are different caulking guns designed for various caulk types. Some are compatible with standard cartridges, while others are made for special formulations. It’s essential to choose the right one for your project.
Conclusion
Now that you know how to use a caulking gun, think of it as a magic wand for home improvement. Just like a chef needs the right ingredients for a delicious meal, choosing the right caulk guarantees a perfect seal. Remember my neighbor, who saved over $200 in energy bills just by sealing drafts? With your newfound skills, you’re now ready to tackle those home projects and enjoy the satisfaction that comes with a job well done!