Workshop Layout Tips for Quick Tool Access
To optimize quick tool access in your workshop, start by evaluating your space and tools. Organize your area into zones for specific tasks, ensuring everything is easily reachable. Utilize vertical storage solutions like wall-mounted racks and bins to clear up floor space. Clear labeling makes identifying tools a breeze. Finally, regularly review your layout to identify areas for improvement. Stay tuned to discover more strategies for enhancing your workshop’s efficiency and effectiveness.
Key Takeaways
- Organize tools into specific zones based on tasks to enhance accessibility and workflow efficiency.
- Use wall-mounted racks and magnetic holders to reduce floor clutter and keep frequently-used tools within reach.
- Implement a clear labeling system for storage locations to facilitate quick tool identification and retrieval.
- Prioritize essential tools’ placement for easy access, minimizing disruptions during project execution.
- Regularly assess and adapt the workshop layout to ensure it meets changing project needs and maintains quick access to tools.
Assess Your Space and Tools
Before you plunge into setting up your workshop, it’s essential to assess your space and tools.
Take a good look around your area; measure its dimensions and note any limitations like windows, doors, or different surfaces. Think about how much room you’ll need for movement and safety.
Assess your space by measuring its dimensions and noting limitations like windows and doors for optimal safety and movement.
Next, take stock of your tools. Are they organized, or do you find yourself searching for them? Consider their sizes and functions—do you have everything you need to tackle your projects?
When you identify what you possess and what space you have, it helps you determine how to best utilize your workshop efficiently. This foundation will pave the way for smarter organization and quicker tool access as you move forward. Additionally, understanding your needs will help you decide between mobile and fixed storage solutions, ensuring your tools are both accessible and secure.
Implement a Zone-Based Layout
With a clear understanding of your space and tools, you can effectively implement a zone-based layout in your workshop. This approach organizes your area into distinct zones based on specific tasks, allowing for quick access to tools and materials. For instance, you might have separate areas for woodworking, metalworking, and assembly, enabling you to streamline your workflow. A well-organized environment can lead to improved focus, which contributes to enhanced productivity.
Here’s a simple overview of potential zones:
| Zone | Purpose |
|---|---|
| Woodworking | Cut, shape, and assemble wood items |
| Metalworking | Fabricate and weld metal pieces |
| Finishing | Sanding and painting projects |
| Assembly | Bring components together |
| Storage | Keep tools and materials organized |
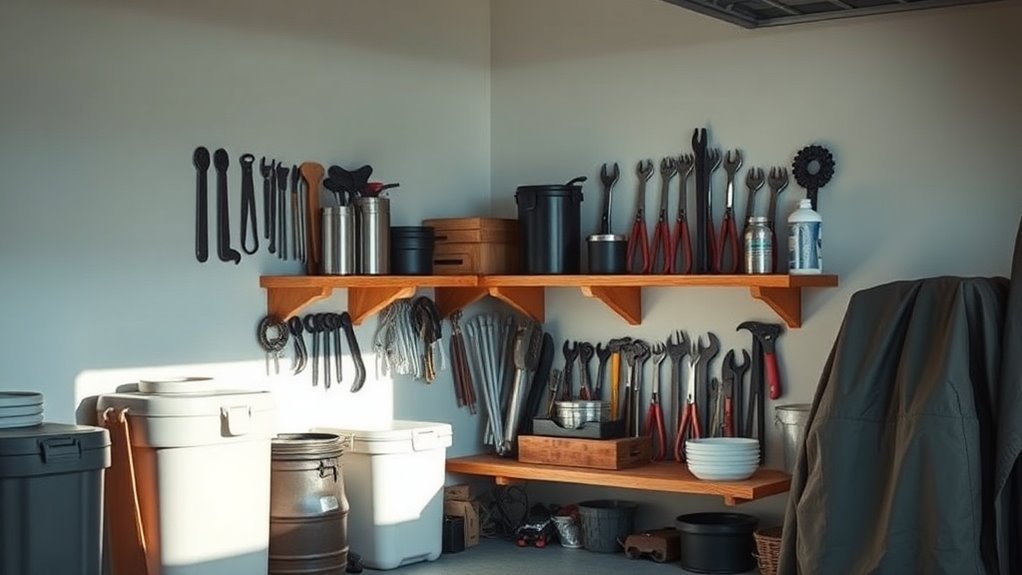
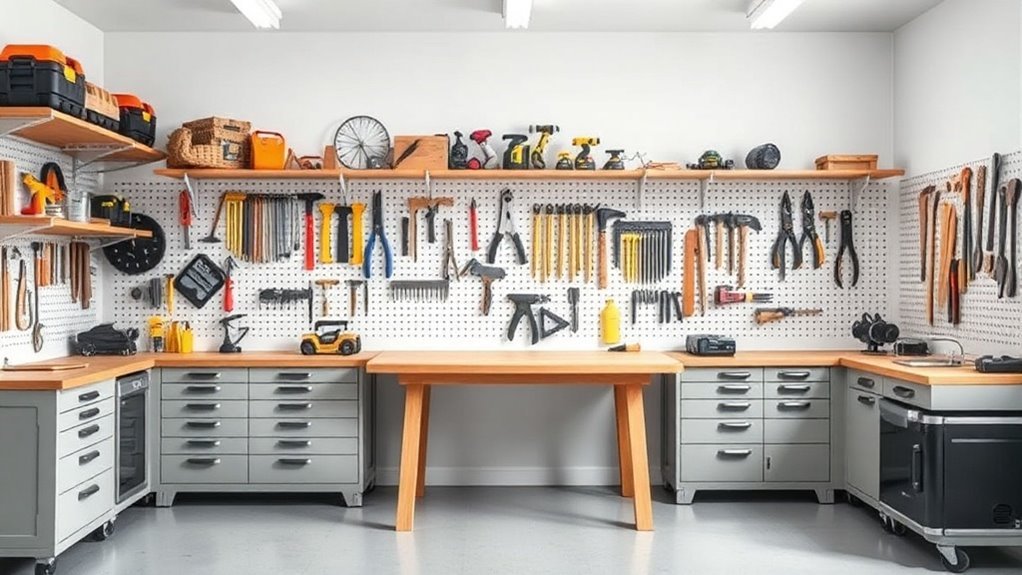
Utilize Vertical Storage Solutions
To maximize your workshop space, consider utilizing vertical storage solutions.
Wall-mounted tool racks and magnetic tool holders can keep your tools organized and easily accessible, while overhead storage bins help clear up floor space. These options not only improve efficiency but also create a safer working environment. Additionally, using proper storage containers helps protect both the tools and the user from accidents.
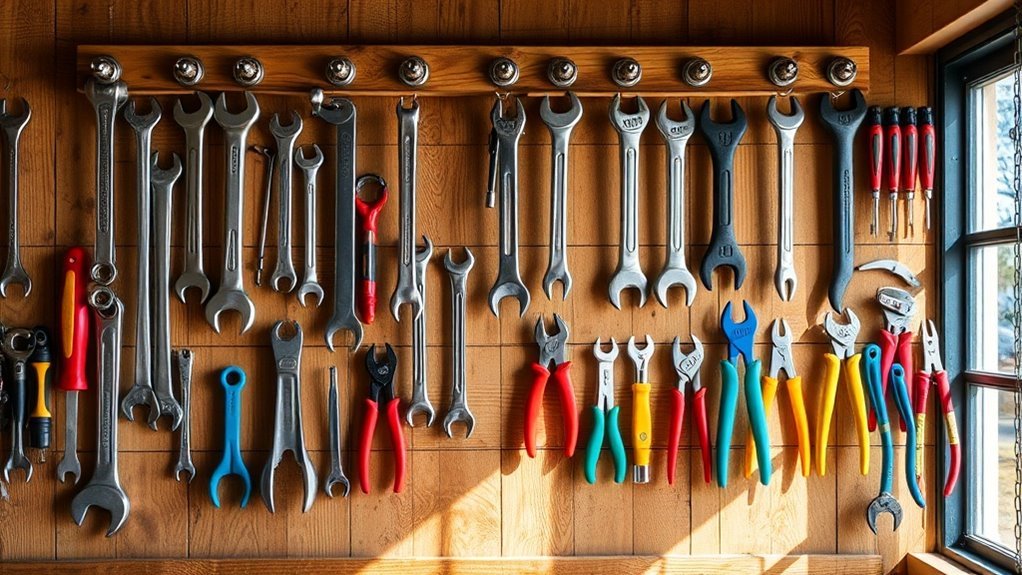
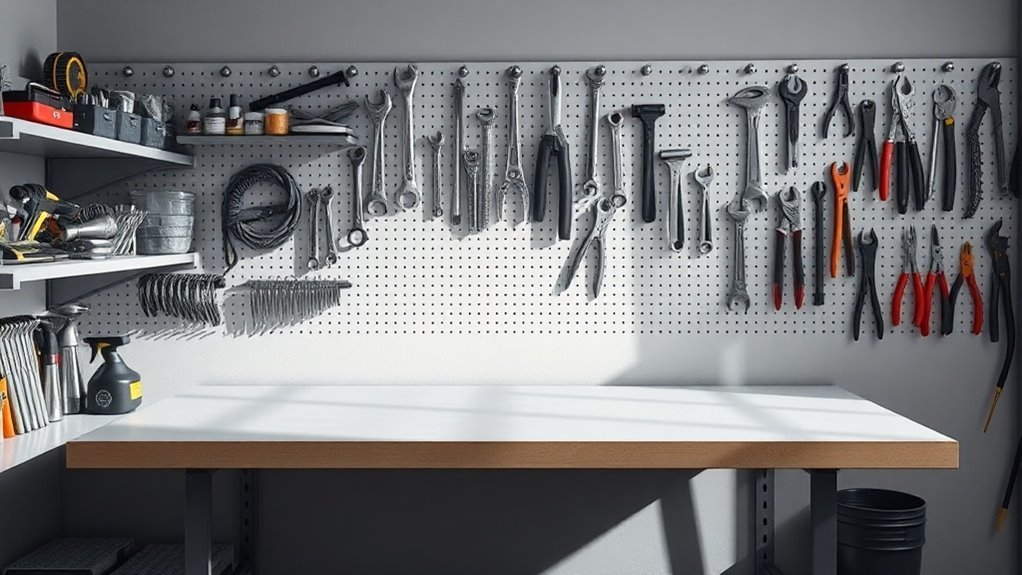
Wall-Mounted Tool Racks
Since space can often be a limiting factor in any workshop, wall-mounted tool racks offer an efficient solution for maximizing vertical storage. These racks help you keep your tools organized and within easy reach, freeing up valuable floor space. You can install them above workbenches or on empty wall sections, ensuring quick access without clutter.
Here’s a simple layout idea for your wall-mounted tool racks:
| Tool Type | Wall Rack Example | Benefits |
|---|---|---|
| Hand Tools | Horizontal rack | Easy visibility |
| Power Tools | Vertical rack | Saves floor space |
| Accessories | Pegboard system | Customizable storage |
Magnetic Tool Holders
Magnetic tool holders are a smart addition to any workshop, offering a sleek and efficient way to keep your metal tools organized and easily accessible.
By utilizing vertical space on your walls or tool cabinets, you maximize your workspace and declutter surfaces. These holders provide a convenient method for hanging tools like wrenches, screwdrivers, and pliers, ensuring you can grab what you need quickly without rummaging through drawers.
Installation is simple, and you can customize the layout based on your workflow.
With tools displayed openly, you not only save time but also have a visual inventory of your equipment. Plus, the durable magnets hold securely, reducing the risk of tools falling off.
Embrace magnetic tool holders for an organized, efficient workspace!
Overhead Storage Bins
When it comes to maximizing your workshop’s space, overhead storage bins are a game changer. By utilizing the vertical space above you, you can clear up valuable floor space while keeping your tools and materials within easy reach.
Mounting bins above your workbench or tool stations not only keeps items organized but also guarantees you’re using your workshop efficiently.
Make certain to categorize the contents for quick access; designate bins for frequently used items like screws, nails, or hand tools.
Installing adjustable shelves allows for customization based on your projects. Just be cautious about weight limits and verify everything is securely attached.
Overhead storage isn’t just practical—it can also enhance the overall workflow in your workshop.
Label Everything for Easy Identification
Labeling everything in your workshop can save you time and frustration. By using clear labels, color-coding your tools, and adding visual aids, you’ll quickly identify what you need. Additionally, implementing ergonomic principles when labeling can enhance your efficiency and safety while working.
Use Clear Labeling Systems
To guarantee you’re always working efficiently, using a clear labeling system in your workshop can make a world of difference.
Labeling every tool, drawer, and storage bin helps you quickly identify what’s where, saving you time on each project. When you can glance at a label rather than rummaging through clutter, you’ll feel more focused and less frustrated.
Use bold, legible fonts and consider including pictures for visual reference, especially for complex tools. Regularly update your labels as your inventory changes to maintain clarity.
Color-Code Tool Categories
A clear labeling system is a great start, but color-coding tool categories takes organization to the next level. By assigning specific colors to different tool categories, you make it easier to spot what you need at a glance.
For instance, you could use red for cutting tools, blue for measuring tools, and green for power tools. This visual cue not only saves time, but it also helps prevent misplaced tools.
Invest in colored labels or tape, and apply them consistently across your storage solutions. Don’t forget to educate anyone else who uses your workshop about the color scheme.
It’ll guarantee everyone knows where to find and return tools, keeping your space organized and efficient. Color-coding is a simple yet effective way to streamline your workflow.
Include Visual Aids
Whether you’re organizing tools or materials, including visual aids can make identification a breeze.
Label everything clearly—buckets, shelves, drawers, and toolboxes—so you can quickly find what you need. Use bold fonts and bright colors for labels, ensuring they’re easy to read from a distance.
Consider incorporating images or icons next to labels, especially for items that may have similar names or uses. You could also create a simple map of your workshop layout, helping you visualize where everything belongs.
Keeping visual aids consistent will help reinforce the organization system in your mind.
Establish an Efficient Workflow
While establishing an efficient workflow might seem challenging, it’s crucial for maximizing productivity in your workshop.
Establishing an efficient workflow is vital for enhancing productivity in your workshop.
Start by organizing your tools and materials so you can access them easily. Here are some strategies to streamline your process:
- Group Similar Tools: Keep related tools together to reduce time spent searching.
- Designate Work Areas: Create specific zones for different tasks to minimize movement.
- Use Clear Labeling: Clearly label storage spaces and tools for quick identification.
- Maintain Accessibility: Verify frequently-used items are within arm’s reach to avoid interruptions.
Implementing these tips will help you create a smoother, more efficient workflow, allowing you to focus on what you love—getting the job done! Regularly reassessing your setup based on usage patterns will further enhance your effectiveness and adaptability.
Regularly Review and Adjust Your Layout
To keep your workshop productive, it’s essential to regularly review and adjust your layout. As you work on different projects, your needs may change, and so should your space.
Take some time every few months to assess how often you use tools and whether they’re still easily accessible. If you find yourself hunting for items or moving things around often, it might be time for a layout tweak.
Remember, a cluttered environment can slow you down and hinder creativity. Don’t hesitate to experiment with new arrangements; you might discover a setup that enhances your workflow. Additionally, incorporating modular storage systems can further optimize your space and improve organization.
Keep an open mind and be willing to adapt. Your efficiency and enjoyment in the workshop depend on a layout that suits your current tasks.
Questions
What Is the Ideal Size for a Workshop Area?
The ideal size for a workshop area depends on your specific needs, but generally, a space between 200 to 400 square feet works well. It should allow you ample room to move and organize efficiently.
How Can I Ensure Safety While Organizing My Tools?
When it comes to safety, it’s better to be safe than sorry. Keep tools organized and easily accessible, use appropriate storage solutions, and regularly inspect equipment to prevent accidents while you’re working in your space.
What Materials Are Best for Vertical Storage Solutions?
For vertical storage solutions, you’re best off using plywood or metal brackets. They’re sturdy and can hold the weight of tools. Additionally, clear plastic bins work well for visibility and easy access to smaller items.
How Do I Prioritize Tool Access When Space Is Limited?
When space shrinks like a withering flower, prioritize frequently used tools at eye level. Nestle lesser ones beneath, creating a harmonious garden. Keep paths clear; like sunlight, easy access encourages creativity and efficiency in your workspace.
Should I Use Mobile Tool Storage Carts or Fixed Shelving?
You should definitely consider mobile tool storage carts if flexibility’s important. They allow easy access and movement. Fixed shelving works well for organization, but doesn’t provide the same convenience in a limited space. Choose based on your needs.
Conclusion
By crafting your workshop with thoughtful layout tips, you’re not just organizing tools; you’re painting a masterpiece of efficiency. Each tool finds its home, like a well-rehearsed dance, ready to waltz into your hands when needed. As you step back and admire your handiwork, remember it’s a living canvas. As your projects evolve, don’t hesitate to tweak and refine your arrangement, ensuring that creativity flows smoothly in a space that inspires and empowers you.